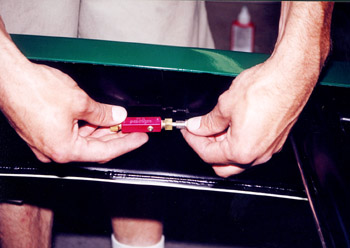
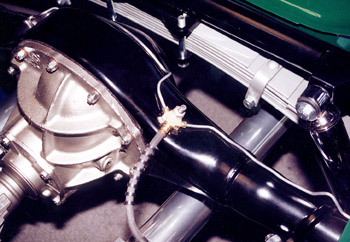
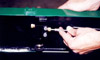
- STEP 11:
Install the line between the red residual valve and the proportioning valve.
|
Click |
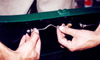
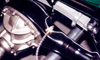
- STEP 12:
Install the short kinked line to the rear brake line tab.
|
Click |
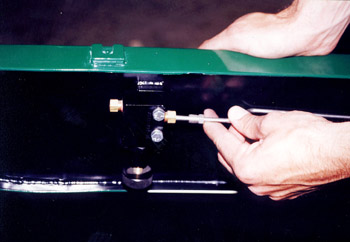
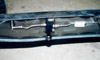
- STEP 13:
Install the brass Tee fitting to your axle housing. SO-CAL axles come pre-drilled and tapped. If your axle is not drilled you’ll need to drill it 25/64” and tap it 7/16-20.
Note: The Tee fitting is held in place by a special SO-CAL vent tube needed to vent the axle. You’ll need to run a hose up out
of the way to prevent the oil from siphoning out.
|
Click |
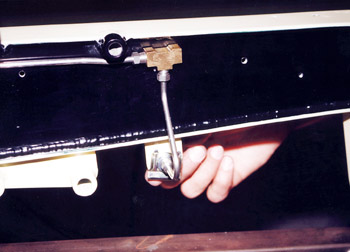
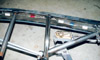
- STEP 14:
Install the fixed lines that run from the Tee fitting to the rear brake drums.
|

Click |
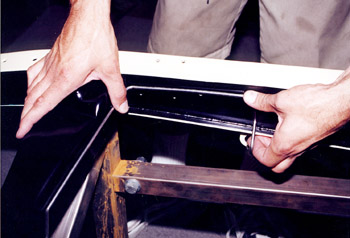
- STEP 15:
Once all the lines and components have been temporarily installed you can install the line clamps. Carefully choose the position for your clamps to avoid other components.
|

Click |
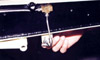
- STEP 16:
Mark the position of the line clamp with a center punch.
|
Click |
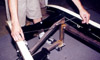
- STEP 17:
Drill a #21 pilot hole.
|
Click |
- STEP 18:
Tap the hole 10-32.
|
Click |
- STEP 19:
Blow away any chips and oil.
|
Click |
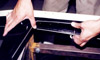
- STEP 20:
Screw the line clamp into position.
|
Click |